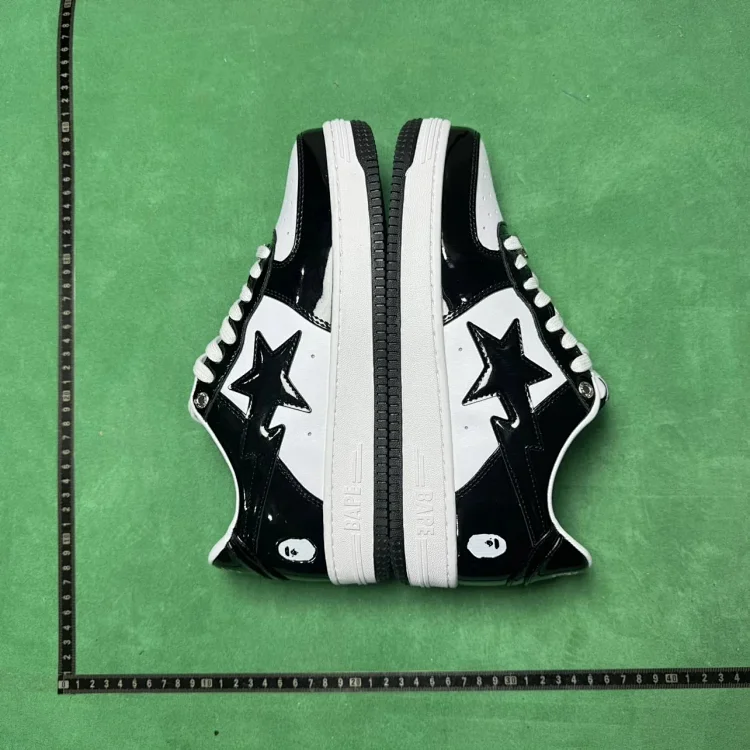
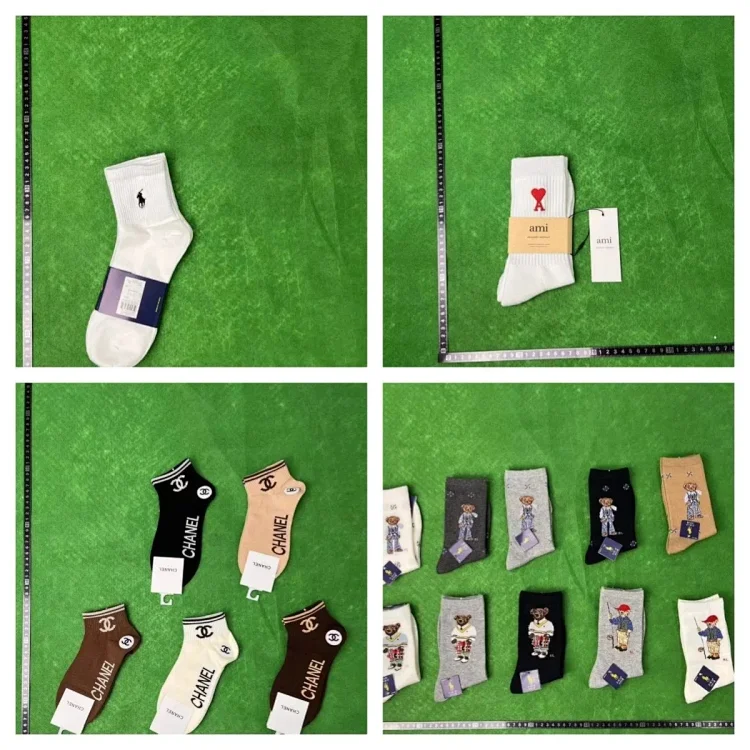
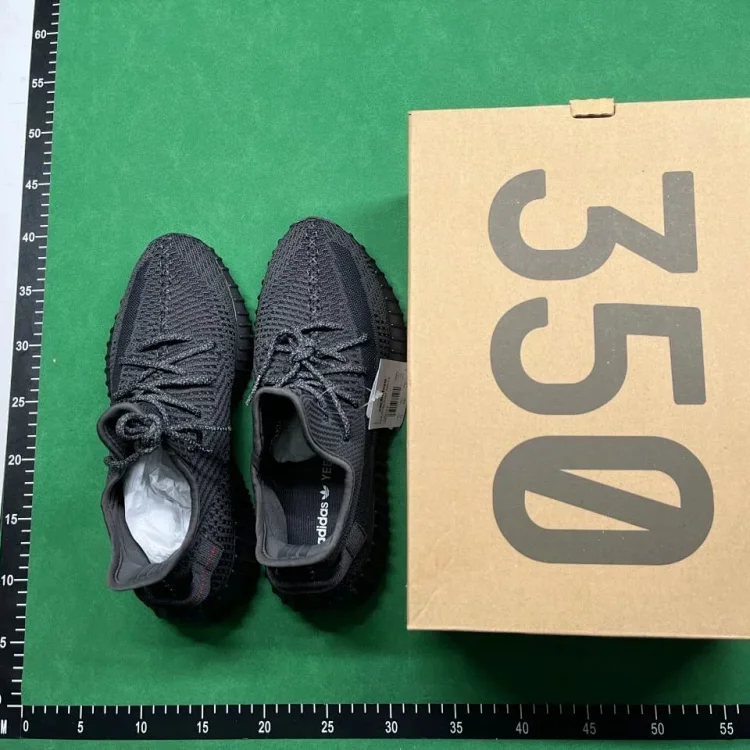
What to check in QC photos
- Start with the basics: item type, selected size, selected color, quantity, and whether the item visually matches the source listing.
- Then check details: shape, stitching, symmetry, labels, tags, sole shape, print placement, stains, loose threads, dents, scratches, and obvious defects.
- For sizing-sensitive products, request or review measurement photos before approving the item for international shipping.
- For bulky or sensitive categories, think ahead about shipping restrictions, packaging size, and volume-weight cost before you build the parcel.

When to request extra photos
Ask for extra photos when a label is hidden, the color looks different from the source listing, the shoe shape is unclear, the size tag is missing, measurements matter, or the warehouse photo angle does not show the defect area. Extra photos are most useful before consolidation, because fixing a problem is harder after the parcel is submitted.
What QC photos cannot fully confirm
Normal QC photos reduce visible risk, but they cannot fully test electronics, confirm long-term durability, inspect hidden interior defects, verify every material claim, or open sealed packaging without special handling. If the item is expensive or functional, treat QC photos as one decision point rather than the only proof.
Common reps terms
GL usually means green light or approve, RL means red light or reject, GP means first tester, batch refers to a production version or seller-supplied version, and rehearsal usually means checking packed parcel weight or size before choosing a shipping line.
Go to FindSpreadsheet homepage, then search product names and review available item context.
Open FindSpreadsheet